How To Nail Down Tin Roof

How To Install A Tin Roof Diy Roofing Metal Roof Installation Roofing Diy

Want To Reduce The Energy Demands Of Your Home With Metal Roofing Insulation Learn The Best Metalroofing Insulation Roof Insulation Metal Roof Roof Repair

Metal Roofing Over Shingles Diy Metal Roof Roofing Diy Metal Roof Installation

How To Install Metal Roofing For Your House With Your Own Hands Metal Roof Installation Metal Roof Over Shingles Metal Roof

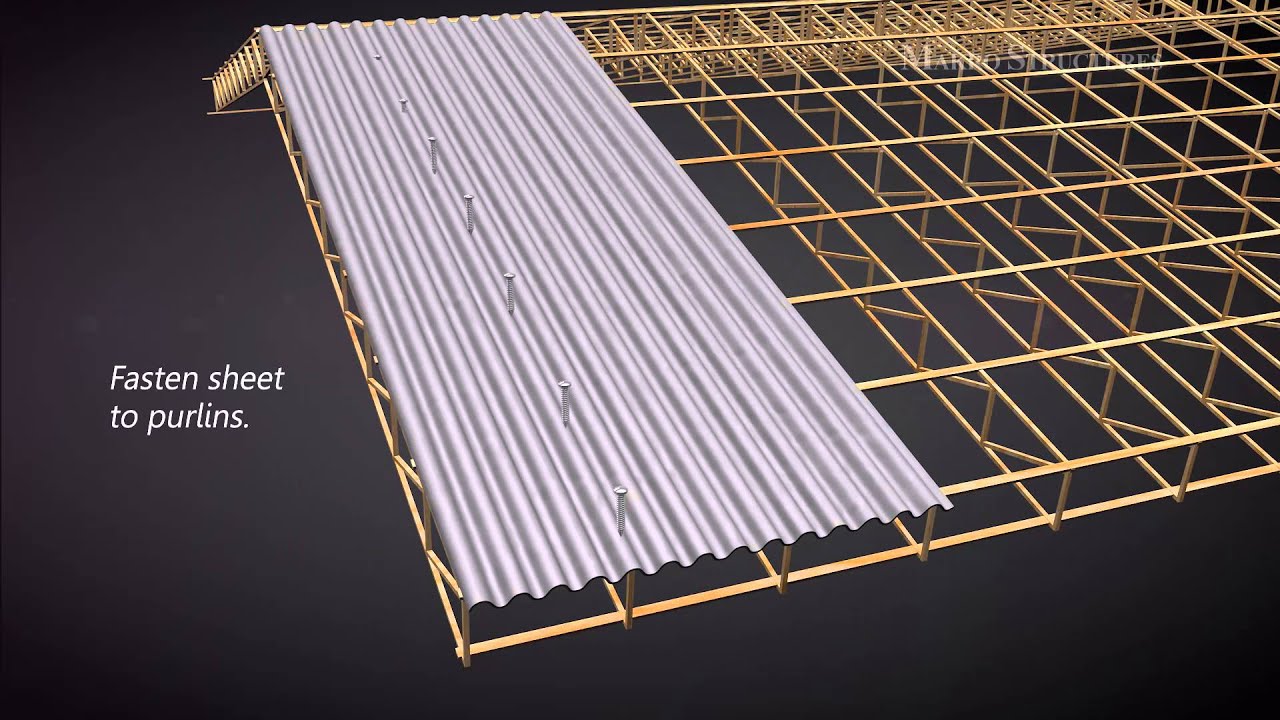
Metal Roofing Screw Placement Metal Roof Installation Roofing Diy Roof Installation

Pin On Roofing

For an r panel style.
How to nail down tin roof.

How To Install A Tin Roof Doityourself Com Tin Roof Roof Installation Metal Roof Leaks
How To Install Corrugated Youtube

Metal Roof Over Shingles On A Mobile Home By Myself Youtube Metal Roof Over Shingles Metal Roof Installation Metal Roof

How To Install Corrugated Metal On My Porch Ceiling Ehow Corrugated Metal Wall Corrugated Metal Roof Panels Sheet Metal
Source : pinterest.com
